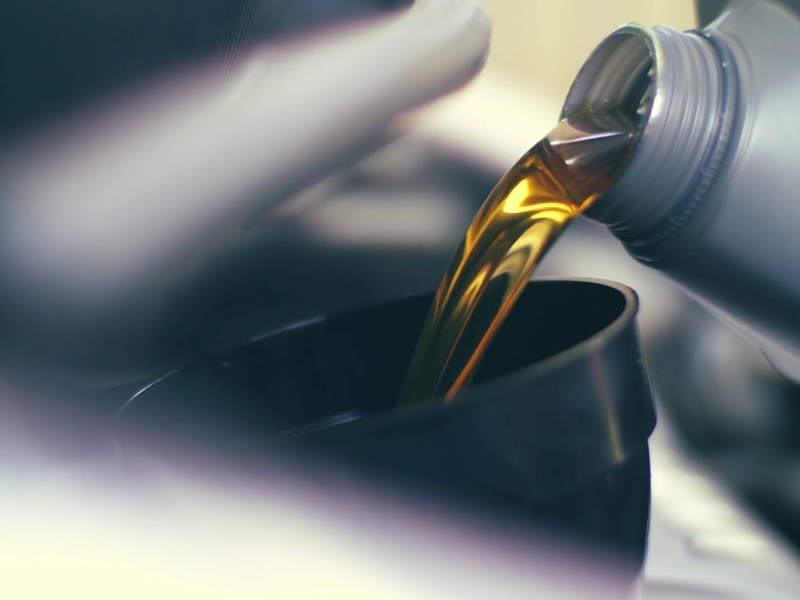
Checking engine oil is an essential move in engine maintenance. Because your engine lifespan is highly affected by the oil level you sustain. Therefore, ensure that there is no overfilling of engine oil during an oil change.
Additionally, low engine oil level is also not encouraged. It usually leads to symptoms like reduced engine performance and engine noises due to an increase in friction.
Make sure that you check your vehicle’s oil levels before taking a long trip. Because this long trip will involve heavy engine use.
Steps involved in checking engine oil.
There is an order of the steps that you should take when checking the level of oil in your engine. It is important to follow these steps in their order so that you can come up with the right conclusion.
After checking the engine oil, you can decide if it is time for an oil change. When you change the oil, it is recommended that you also change the oil filter.
a]. Find the oil dipstick.
There are two variations about the appropriate time to check your engine oil. Some oil manufacturers recommend that you check the oil after warming up the engine. This way, the oil pressure will have sent the oil around the engine parts.
Alternatively, other manufacturers state that the engine should be cold during the oil check. In this situation, the oil will be settled in the oil pan and the oil dipstick will give you the necessary reading.
You are more likely to get the correct conclusion on your engine oil level when the oil is in the oil pan. Because a warm engine takes up most of the oil and this might mislead you to an oil overfill when you’re adding engine oil.
1. Park on a flat surface.
Make sure that the car is parked on a flat surface so that the oil is at a leveled state within the oil pan. If you’re in exceptionally cold places, make sure that you warm the oil for a minute to loosen it first.
2. Pop the car hood open.
There is a small lever around the driver’s seat. Manufacturers usually label it with the picture of an open car hood. Pull this lever to pop the car hood open.
Afterwards, proceed to the front of the vehicle and slide your hand bellow the car hood to release the latch that holds it. Pull or push this latch to release the car hood completely.
Some vehicles have a supporting lever that helps the car hood to stay up. This lever is usually folded up on the side. However, other cars will automatically keep the hood open.
3. Examine the engine and locate the oil dipstick.
The oil dipstick is usually a yellow, orange or red cap that stands out next to the engine block. It comes in two different shapes, either circular or rectangular shapes. The dipstick is usually on the passenger side or the front of the vehicle.
Once you have located the oil dipstick, you’re ready to check the oil level. Ensure that you have a couple of paper towels or a clean cloth to wipe off the oil from the dipstick.
b]. Check the engine oil level.
This will involve a number of steps where you insert and remove the oil dipstick multiple times. The dipstick reading usually tells you the amount of oil that you have depending on the maximum and minimum marks. The amount of oil between the maximum and minimum marks of the oil dipstick is 1 quart or 0.95 litters.
1. Remove the dipstick.
The length of the dipstick is between 1 to 3 feet long. Pull the dipstick out and check the maximum and minimum marks. Place a paper towel around the port while you pull out the dipstick. This will ensure that the oil doesn’t drip out from the flexible oil dipstick. The paper towel will wipe off the oil.
2. Examine the oil.
You can tell a lot about the engine efficiency and engine health from the appearance of the oil. The color of good car engine oil is usually golden brown or yellowish.
Use a clean paper towel to wipe off the oil from the dipstick and observe the color. This will be a good indication of the quality of oil that’s in your car engine.
Incase the oil appears very dark, it is an indication that it’s time for an oil change. Otherwise, you’re risking to interfere with the engine performance. Because impurities usually accumulate in the oil over time hence making it hard to perform the functions of the oil. For example, engine lubrication and cooling.
Metallic fillings found in the dark brown oil will interfere with oil viscosity. Further, they will cause engine wear by slowly eat away the engine cylinders over time.
3. Return the dipstick once more.
The first time you remove the dipstick isn’t sufficient for a conclusion about the amount of oil in your car engine. Because the dipstick has been inside the engine for sometime and some oil sticks onto it during normal engine performance.
Therefore, once you have wiped it clean, reinsert it into the port. Check the level of the oil in relation to the maximum and minimum marks.
4. Check the amount of oil.
The maximum and minimum marks on the dipstick are found at the bottom end. Whereby, the minimum mark is the closest one to the edge of the dipstick. A car engine that has sufficient oil should have the oil line between the maximum and minimum points.
Remember that the engine should be cool during this activity. If the oil line is between the tip of the dipstick and the minimum mark, you need to add new engine oil as part of car maintenance. Make sure that the oil never exceeds the maximum mark on the dipstick.

